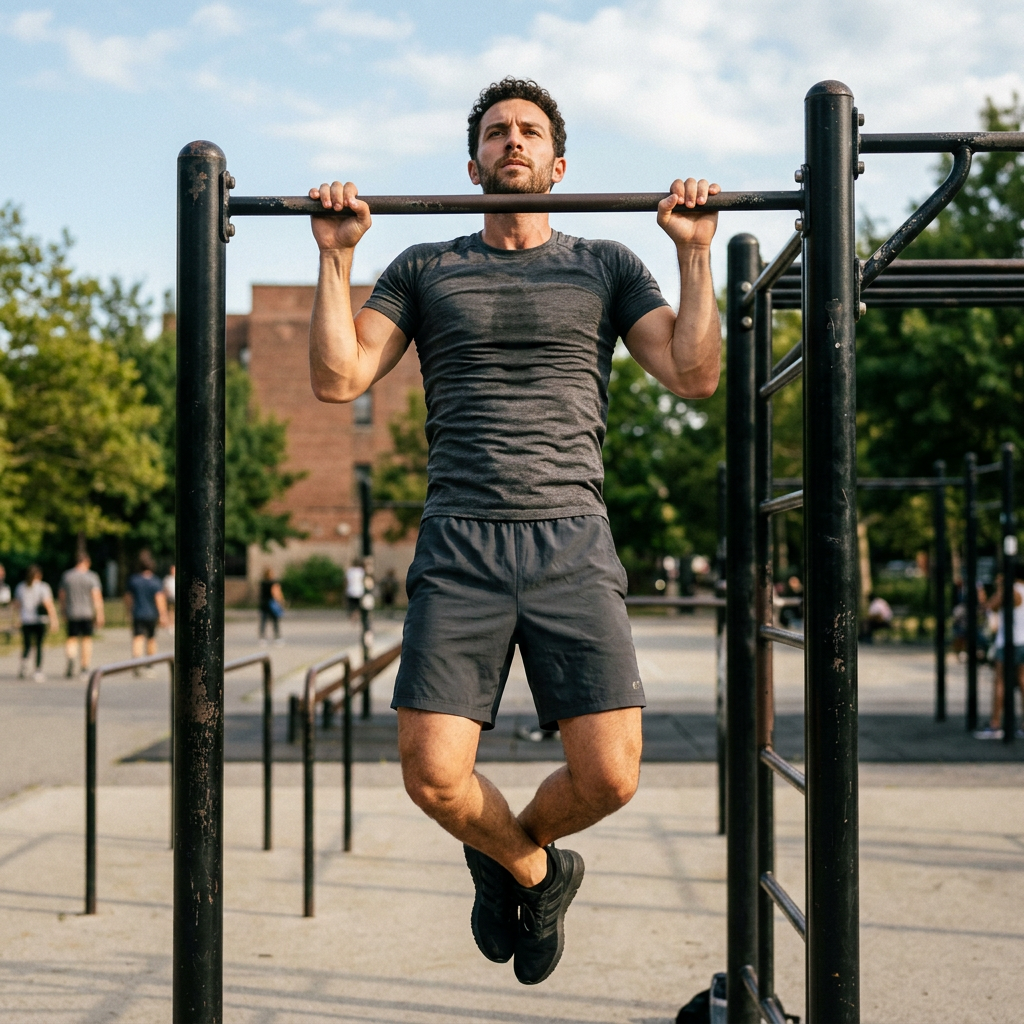
How to Do Your First Pull-Up: A Step-by-Step Training Plan
·
9 min read
·
📖 Training Guide
·
Strength & Flexibility

The problem isn’t effort it’s approach. Most people try to “just do more pull-ups” without building the foundational pulling strength and scapular control required to actually move their bodyweight. This guide lays out a methodical, step-by-step training plan built around progressions that actually work: dead hangs, scapular pulls, Australian rows, band-assisted reps, and negatives all structured into a weekly program you can run at home with a doorframe bar.
Whether you’re starting from zero or you’ve been stuck at a partial rep for months, this plan will fill in the gaps and get you to a clean, chin-over-bar pull-up. Let’s start from the top.
Table of Contents
- Why Pull-Ups Are Harder Than They Look
- Muscles Worked in a Pull-Up
- Phase 1: Build the Foundation (Weeks 1–2)
- Phase 2: Develop Pulling Strength (Weeks 3–4)
- Phase 3: Assisted Pull-Ups and Negatives (Weeks 5–8)
- Phase 4: Your First Unassisted Rep (Week 8+)
- Sample Weekly Training Schedule
- Gear That Helps
- FAQ
1. Why Pull-Ups Are Harder Than They Look
A pull-up requires you to lift your entire bodyweight using muscles most people barely use in daily life. Unlike a push-up, which builds on the chest and triceps you likely have some baseline strength in, pull-ups demand significant lat, rear delt, and bicep engagement alongside active scapular control a movement pattern most sedentary adults have essentially never trained.
According to ACE Fitness, the pull-up demands not just raw strength but neuromuscular coordination: your brain has to learn how to recruit the right muscles in the right sequence before the movement can happen cleanly. That’s why beginners often feel like they’re “all arms” when they try the lats and rear delts simply haven’t been taught their role yet.
Add to this the bodyweight component: if you’re carrying extra weight, every pound matters. A study published in the Journal of Strength and Conditioning Research found that relative body weight is one of the strongest predictors of pull-up performance, which is why getting lean while building pulling strength is a dual-track approach worth considering.
2. Muscles Worked in a Pull-Up
Understanding which muscles drive a pull-up helps you train them intentionally. The pull-up is a compound movement, meaning multiple muscle groups fire simultaneously:
Primary Movers
Latissimus dorsi (lats): The large, wing-shaped muscles of your back. These are the primary drivers of pulling your elbows down and back. Developing your lats is the single most important thing you can do to earn your first pull-up.
Biceps brachii: Your biceps assist with elbow flexion through the full range of motion. They’re important, but secondary — don’t make the mistake of training only biceps and wondering why your pull-up isn’t improving.
Rear deltoids and rhomboids: These muscles stabilize the shoulder joint and assist with scapular retraction — critical for the initial “set” of the movement before you pull.
Secondary and Stabilizers
Trapezius (lower fibers): Helps depress and stabilize the scapula. Teres major: Works alongside the lats to extend and adduct the shoulder. Core musculature: An engaged core prevents the body from swinging and keeps the movement efficient and injury-free.

3. Phase 1: Build the Foundation (Weeks 1–2)
Don’t touch the bar for a full pull-up attempt until you’ve completed Phase 1. The goal here is grip strength, shoulder health, and most importantly scapular activation. These two weeks lay the neuromuscular groundwork for everything that follows.
Sources: ACE Fitness Exercise Library
4. Phase 2: Develop Pulling Strength (Weeks 3–4)
Phase 2 introduces horizontal pulling and inverted rows, which load the lats and rear delts through a full range of motion without requiring you to lift 100% of your bodyweight yet. This is the fastest-working phase for building real pulling strength in beginners.
5. Phase 3: Assisted Pull-Ups and Negatives (Weeks 5–8)
This is where everything comes together. With your scapular control, grip, and horizontal pulling base built, you’re ready to move to the bar for real reps with assistance initially. Two tools shine here: resistance bands and a spotter (or foot assistance).
For gear that makes Phase 3 training easier at home, check out our guide to the best resistance bands for beginners — loop bands are specifically designed for assisted pull-up work. A quality doorframe bar makes the whole progression accessible without a gym membership; see our roundup of the best pull-up bars for doorframes in 2026.
6. Phase 4: Your First Unassisted Rep (Week 8+)
By week 8, your lat strength, scapular control, and grip endurance should be sufficient for an attempt. Here’s how to set yourself up for success on your first unassisted rep:
7. Sample Weekly Training Schedule
This schedule assumes 3 pull-up training days per week with rest between sessions. Pair it with whatever other training you’re doing — just avoid programming heavy rows or lat work the day before a pull-up session.
| Phase | Day A | Day B | Day C |
|---|---|---|---|
| Phase 1 (Wk 1–2) | Dead hangs × 3, Scapular pull-ups × 3, Bar holds × 3 | Rest or active recovery | Repeat Day A |
| Phase 2 (Wk 3–4) | Scapular pull-ups × 2, Australian rows × 4, Negatives × 3 | Rest | Repeat Day A |
| Phase 3 (Wk 5–8) | Band pull-ups × 4, Negatives × 3, Flex arm hang × 2 | Rest | Repeat Day A (thinner band) |
| Phase 4 (Wk 8+) | Unassisted attempts × 3–5 singles, Band pull-ups × 3 | Rest | Repeat with progressive volume |
Rest between sets should be 90 seconds to 2 minutes for strength work. For negatives and bar holds, 2–3 minutes is appropriate these are high-demand movements that require adequate recovery between sets to maintain quality.
8. Gear That Helps
You don’t need a full gym to train for your first pull-up. The three essential pieces of equipment that make this progression fully home-friendly are a doorframe bar, a set of loop resistance bands, and optionally, a set of gymnastic rings (which make inverted rows adjustable and joint-friendly).
A suspension trainer like a TRX is particularly useful during Phase 2 for inverted rows — the adjustable angle lets you progress from easier to harder as your strength increases without needing any additional equipment. See our roundup of the best suspension trainers for home workouts to find one that suits your setup.
FAQ
Bottom Line: Your First Pull-Up Is Closer Than You Think
- Phase 1 (weeks 1–2): Master dead hangs and scapular pull-ups before attempting any full reps skipping this phase is why most progressions fail.
- Phase 2–3 (weeks 3–8): Australian rows and negatives are the fastest-working exercises for building real pull-up strength. Don’t skip them for more bar time.
- Phase 4 (week 8+): When your flex arm hang hits 15 seconds, attempt your first unassisted rep. Use the “elbows to hips” cue to keep your lats engaged throughout.
Conclusion
Getting your first pull-up is one of the most satisfying milestones in bodyweight training — and it’s entirely within reach with the right approach. The key is to resist the temptation to just “try harder” at the bar and instead spend a few weeks building the specific strength and neuromuscular patterns the movement demands. Dead hangs, scapular activation, horizontal rows, and negatives aren’t just warm-ups — they’re the actual work that builds the strength to pull yourself up.
Stick to the 4-phase schedule, prioritize recovery, and track your flex arm hang time as your weekly progress marker. Before long, you won’t just have one rep — you’ll have a foundation for sets of 5, 10, and beyond.
Leave a Reply